

Blog
How to Finish Panel Edges for a Refined Look

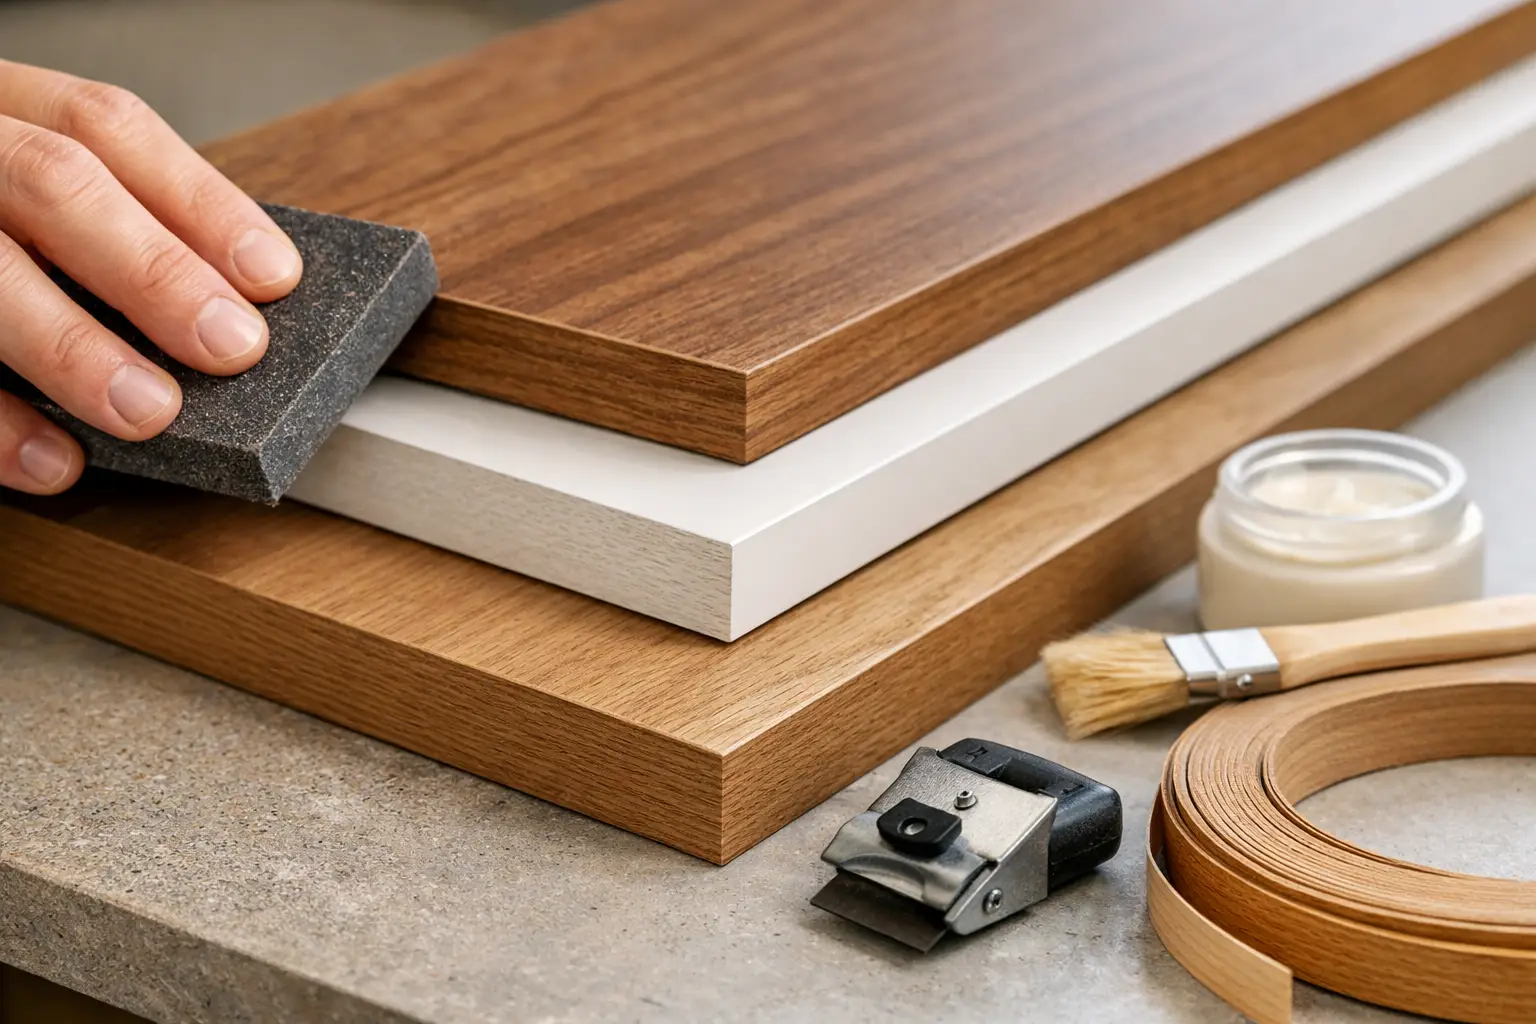
A slat wall can have the finest oak-inspired finish and still look unfinished if its exposed sides are left untreated. Knowing how to finish panel edges is what turns an attractive surface into a composed architectural feature – whether you are styling a quiet bedroom, a hospitality reception, or a high-performing office.
Panel edge details do more than hide a cut. They create visual continuity, protect vulnerable board ends, and give the installation the deliberate, tailored appearance associated with premium interiors. The right method depends on where the panel ends, the panel type, the room’s conditions, and whether the edge needs to meet another surface, turn a corner, or remain visible.
Start with the end in mind
Before ordering panels or making the first cut, identify every exposed edge in the design. This includes the left and right sides of a feature wall, the bottom and top termination, openings around doors or windows, outside corners, inside corners, and transitions into ceilings, flooring, or adjacent wall finishes.
A panel that runs from wall to wall may need only precise perimeter cuts. A freestanding feature wall, by contrast, needs a considered finish on both ends. The most successful installations treat these details as part of the design from the outset, rather than as an afterthought when the final panel has already been fitted.
For acoustic slat panels, the exposed edge often reveals the black acoustic backing behind the slats. That contrast can look intentional in a dark, contemporary scheme, but it can also interrupt the warm rhythm of the timber-look surface. End slats and matching trims are usually the cleanest way to resolve this.
Choose the right finish for the edge
There is no single answer to how to finish panel edges because each condition asks for a different solution. The goal is always the same: an edge that looks finished from normal viewing distance and holds up to daily use.
Use end slats for exposed acoustic panel sides
An end slat is designed to complete the visible side of an acoustic slat wall. It continues the look of the front-facing slats while covering the exposed felt backing and panel core. This creates a crisp vertical line that makes the installation appear built in rather than simply applied to the wall.
Use an end slat where a slat panel stops in open view, such as at the edge of a TV feature, behind a bed, beside a hallway opening, or on either side of a reception backdrop. Match the end slat to the panel finish for a quiet, cohesive result. A contrasting dark end detail can work well too, but it should be repeated elsewhere in the room so it feels intentional.
Fit end slats only after confirming the final panel position. Dry-fit the panel and end piece first, then check the line from several angles. Walls are rarely perfectly straight, and a small adjustment before adhesive or fasteners are applied can prevent a noticeable gap.
Use trims at transitions and perimeters
Trims create a framed termination where panels meet another material or surface. They are particularly useful at the top and bottom of a wall installation, along a ceiling edge, around openings, or where decorative panels meet painted drywall, stone, tile, or cabinetry.
A slim matching trim gives a refined, tonal finish that keeps attention on the panel texture. A black or dark trim creates a sharper graphic outline and can visually connect with the dark backing of acoustic panels. Neither option is automatically better. It depends on whether the room calls for a soft, integrated finish or a more defined architectural border.
For exterior composite wall panels, purpose-made trim is more than a visual accessory. It helps manage exposed board ends and creates a cleaner junction at corners, parapets, and changes in direction. Select trims intended for the panel system and exterior conditions, rather than substituting an interior molding that may not tolerate sun, moisture, and temperature movement.
Finish outside corners with corner edges
Outside corners receive more attention and more wear than flat wall ends. A dedicated corner edge gives the corner a strong, continuous profile while protecting the panel edges from knocks, luggage, furniture movement, and everyday contact.
This is especially valuable in commercial spaces, corridors, restaurants, and family homes. A raw mitered corner can look elegant when perfectly executed, but it leaves little room for movement or impact. Corner trims are often the more durable and forgiving choice, particularly with composite exterior cladding.
When installing a corner edge, establish a straight, plumb reference line first. If the corner is not square, do not force the trim into position and hope the panels will hide the discrepancy. Scribe or adjust the adjoining cuts as needed so the finished line remains visually straight.
Treat inside corners with restraint
Inside corners are less exposed, so the detail can be simpler. Panels can meet neatly in the corner, or one panel can run through while the adjoining panel finishes against it. Either method can look excellent when the slat spacing and panel alignment are planned carefully.
A narrow shadow gap is another design-led option. It creates a deliberate reveal rather than trying to disguise an imperfect corner. This approach is particularly effective in modern interiors with dark paint, black fixtures, or other linear details. It does require accurate cutting, because inconsistent gaps are more visible than a covered joint.
Get the cuts right before you conceal them
Trims are not a substitute for poor cuts. Even when an edge will be covered, the panel should be measured and cut accurately so it sits flat, maintains its intended expansion clearance, and does not place pressure on adjoining components.
Measure each panel location individually. Do not assume the top and bottom widths of a wall are identical, especially in older properties or around plastered corners. Mark cuts on the reverse side where appropriate, use a sharp blade or suitable fine-tooth saw for the material, and support the panel fully to avoid chipping or tearing.
For acoustic slat panels, plan the cut around the slat layout. A narrow partial slat at the exposed end can look accidental. Where possible, adjust the starting position or trim width so the visible composition feels balanced. This small decision has an outsized effect on the finished wall.
Composite panels also need space to expand and contract with temperature changes. Follow the product-specific installation guidance for recommended gaps, fixing points, and trim allowances. A tightly trapped panel may initially look neat but can distort as conditions change.
Sequence the installation for a cleaner result
A polished edge finish begins with the installation order. Start from the most visible focal point, such as the centerline behind a bed or television, rather than automatically beginning at one side of the room. This helps keep the slat pattern balanced and places any narrower cut panels in less prominent positions.
Install the main field panels first, checking level and alignment frequently. Then add end slats, corner edges, and perimeter trims once the panel layout is confirmed. If a trim needs to sit behind a panel, as some systems do, dry-fit every component before final fixing and follow the system’s specified sequence.
Use the recommended adhesive and mechanical fixings for the substrate and panel type. A clean edge is only premium if it remains secure. Walls with uneven plaster, high humidity, frequent temperature changes, or heavy public use may require more preparation and a more deliberate fixing strategy than a dry, flat residential feature wall.
Small details that protect the finished look
Avoid running panels directly into wet flooring, exterior paving, or any surface where water can collect. Leave the appropriate clearance and use a suitable transition detail. In bathrooms, covered patios, and exterior applications, managing moisture is as important as achieving a neat line.
Wipe adhesive from finished surfaces immediately, before it cures. Check that trims are seated consistently along their full length, and inspect the installation in both daylight and artificial lighting. Side lighting is particularly revealing – it will show any panel that is proud of the wall, any wavy trim line, or any uneven shadow gap.
When cutting or fitting a finish piece, keep spare material from the same product batch where possible. Variations in grain direction and tone are part of a wood-inspired finish, but matching components from the same batch helps the result feel carefully composed.
A finished edge is part of the design
The best panel installations do not end abruptly. They meet the room with purpose, using end slats, trims, corner edges, or restrained shadow gaps to make every boundary feel resolved. Inspiration Wood’s coordinated finishing components make it easier to carry that premium, wood-inspired character through the details that people notice up close.
Take time to plan the final panel, not just the first one. That last edge is where a surface installation becomes a space with real design presence.