

Blog
How to Clad a Courtyard Wall for Lasting Style

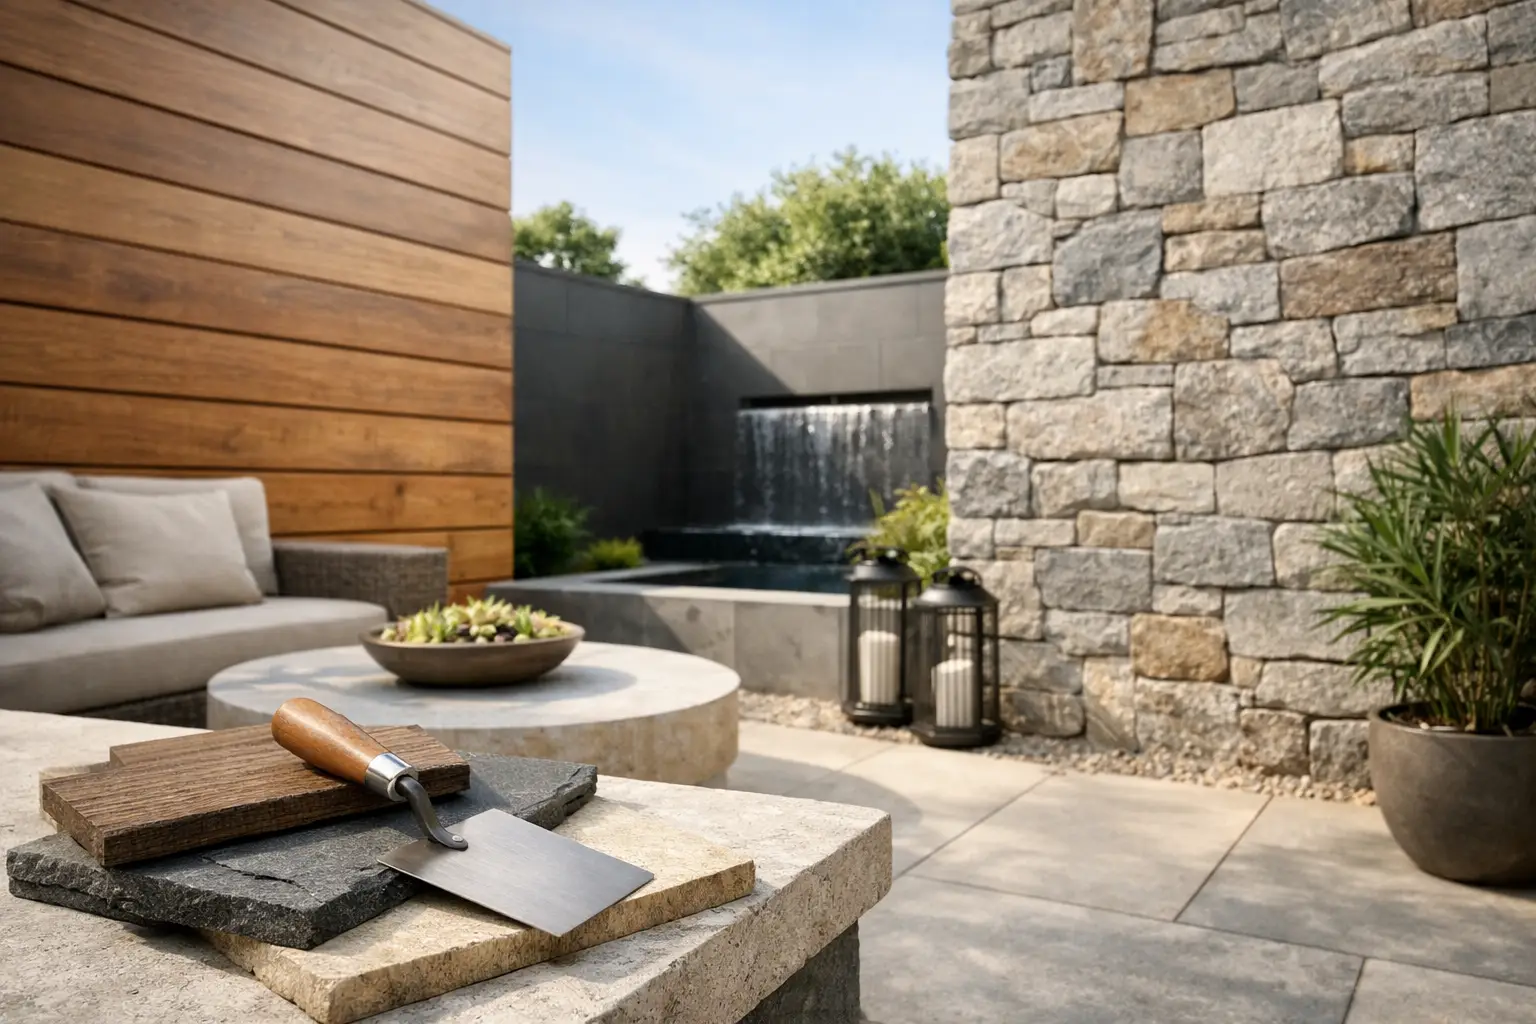
A courtyard wall does more than define a boundary. It sets the mood for the entire outdoor room – the backdrop to morning coffee, evening entertaining, planting, poolside spaces, and views from inside the home. Knowing how to clad a courtyard wall means choosing a finish that looks considered from every angle while standing up to sun, rain, dust, and daily life.
Outdoor composite wall cladding offers the warmth and linear beauty of timber without the regular sanding, staining, and sealing associated with natural wood. Done well, it can turn an ordinary masonry wall into a polished architectural feature with a distinctly premium feel.
Start With the Wall, Not the Panel
The most successful courtyard cladding projects begin with an honest assessment of the existing surface. A painted brick or concrete wall may appear sound from a distance, but loose paint, cracks, moisture staining, and an uneven face can affect the final installation.
Check that the wall is structurally stable and that any drainage or waterproofing issues are resolved before cladding begins. Cladding is a finish, not a cure for rising damp, failed coping, or water entering through cracks. If water is being held behind the wall or draining toward it from paving, address that first.
This preparation stage also shapes the visual outcome. Measure the full width and height of the wall, then note gates, lights, taps, planter boxes, electrical points, and changes in level. A courtyard often has tighter sightlines than a large garden, so awkward cuts and poorly aligned joints are immediately noticeable.
Choose an Outdoor Material That Matches the Setting
Natural timber has unmistakable character, but it requires ongoing care in exposed spaces. Its color can shift, boards can move with moisture, and regular protective treatment is part of ownership. For some projects, especially covered courtyards, that living quality is exactly the appeal. For most low-maintenance outdoor renovations, composite cladding is the more practical choice.
Premium composite wood panels are designed to bring a timber-inspired surface to exterior walls while offering stronger resistance to weathering, moisture, insects, and everyday wear. They are particularly effective in South African conditions, where intense sun and sudden rainfall can test exterior finishes quickly.
Consider the architecture around the courtyard before selecting a color. Deep charcoal and darker wood tones create a dramatic backdrop for pale paving, sculptural planting, and warm outdoor lighting. Lighter oak-inspired finishes can soften contemporary concrete, stone, or black steel. Mid-toned brown finishes tend to feel grounded and work especially well alongside terracotta, greenery, and natural stone.
The profile matters as much as the color. Fine linear grooves can make a compact courtyard feel taller when installed vertically. Horizontal boards visually widen a narrow wall and can create a calmer, more expansive feel. Choose one direction intentionally, then carry it through the wall with consistent spacing and clean edge details.
How to Clad a Courtyard Wall: Plan the Layout
Before installing the first panel, dry-plan the layout. This is where a professional-looking result is won or lost. Establish a centerline or a strong starting edge, depending on what the wall faces and where people will approach it.
If the wall includes a central feature such as a fountain, built-in bench, fireplace, or large planter, centering the panel pattern around it often creates the most balanced composition. If one side is hidden by a gate or dense planting, it can make more sense to begin at the most visible corner and place any narrower finishing cut in the less prominent area.
Allow for expansion and contraction in accordance with the manufacturer’s installation guidance. Composite materials respond differently to changing temperatures than masonry, so panels should never be forced tightly together or hard against adjacent walls, paving, or roof structures. The required gaps may be small, but they are essential to long-term performance.
Also decide how the cladding will finish at the top, bottom, and sides. Purpose-made trims, corner edges, and end slats give the installation its tailored appearance. Leaving exposed board ends or relying on a bead of sealant to hide uneven cuts can undermine an otherwise beautiful wall.
Decide Between Direct Fixing and a Batten Framework
A flat, dry, structurally sound wall may be suitable for direct fixing if the selected cladding system permits it. However, a batten framework is often the more forgiving and durable route, particularly over uneven masonry.
Battens create a level mounting plane and can provide a ventilation cavity behind the cladding. That gap helps moisture escape rather than becoming trapped against the wall, which is valuable in courtyards where shade, irrigation, and rain can create damp pockets. Use exterior-rated battens and corrosion-resistant fixings appropriate for the wall substrate.
The batten direction should run perpendicular to the cladding direction. Vertical panels need horizontal battens; horizontal panels need vertical battens. Keep spacing consistent and follow the panel manufacturer’s recommended centers, as this supports the boards evenly and prevents movement over time.
Install With Clean Lines and Correct Fixings
Once the framework is level, installation becomes a disciplined sequence rather than a complicated building exercise. Start with a straight, secure base line. Use a level regularly, even if the first panel appears perfect. A small deviation at the bottom becomes much more obvious as the pattern travels across or up the wall.
Cut panels with the blade and technique recommended for the material, then test-fit each piece before fixing. Measure twice around lights, outlets, taps, and corners. In a design-led courtyard, neat cutouts around functional elements are part of the finish, not an afterthought.
Use the specified fixing system and avoid over-tightening screws. Fasteners that are driven too aggressively can restrict natural movement or damage the panel surface. Concealed clips may be appropriate for some systems, while color-matched face fixings can be suitable for others. The right choice depends on the panel profile, wall conditions, and the manufacturer’s instructions.
Where two panels meet, keep joints consistent. A staggered arrangement can feel more natural on long horizontal runs, while aligned joints may better suit a minimal, architectural look. There is no universal answer – the surrounding architecture should guide the composition.
Finish the Edges Like a Designed Feature
The difference between cladding that looks installed and cladding that looks designed is often found at the edges. Use matching trims or edge profiles to frame exposed sides and create a crisp transition at returns, gates, or adjoining plaster walls.
External corners deserve particular attention because they are highly visible and vulnerable to knocks. A dedicated corner edge gives the wall a finished, deliberate line while protecting the panel ends. At the top of the wall, consider how rain will run off and whether an existing coping stone should remain visible as a contrasting cap.
Lighting can elevate the effect further. Warm wall washers, discreet uplights, or integrated planter lighting bring out the texture of grooved composite panels after dark. Keep fixtures accessible for maintenance and ensure all outdoor electrical work is completed by a qualified professional.
Avoid the Mistakes That Shorten the Life of Cladding
Courtyard walls are exposed to more than weather. They may be sprayed by irrigation, brushed by furniture, shaded by overgrown plants, or exposed to chlorinated pool splash. Good detailing anticipates these realities.
Avoid installing cladding over an actively damp wall, blocking drainage paths, or placing panels directly where they sit in standing water. Do not use ordinary interior screws outdoors, and do not assume every composite product can be installed in the same way. Panel thickness, profile, backing, fixing method, and expansion allowances vary by system.
Keep plants trimmed back enough to allow airflow and prevent persistent moisture against the surface. If your courtyard includes a barbecue or fire feature, maintain suitable clearances and select materials according to local safety requirements and the product’s technical guidance.
Keep the Finish Looking Refined
One of the strongest advantages of composite cladding is its straightforward care routine. Most courtyard walls need only a gentle wash with water and a soft brush or cloth to remove dust, pollen, and surface marks. For more stubborn dirt, use a mild cleaner approved for the specific product.
Avoid abrasive pads, harsh solvents, and pressure washing at close range, as these can damage the surface or force water into joints. A simple seasonal clean, along with a quick inspection of trims and fixings, will help the wall retain its polished appearance.
A courtyard should feel like an extension of the home, not another maintenance project waiting on the weekend. With careful preparation, proper ventilation, precise detailing, and a premium exterior panel system, the wall becomes a lasting surface that gives outdoor living a more composed, luxurious place to unfold.