

Blog
How to Install Acoustic Slat Panels

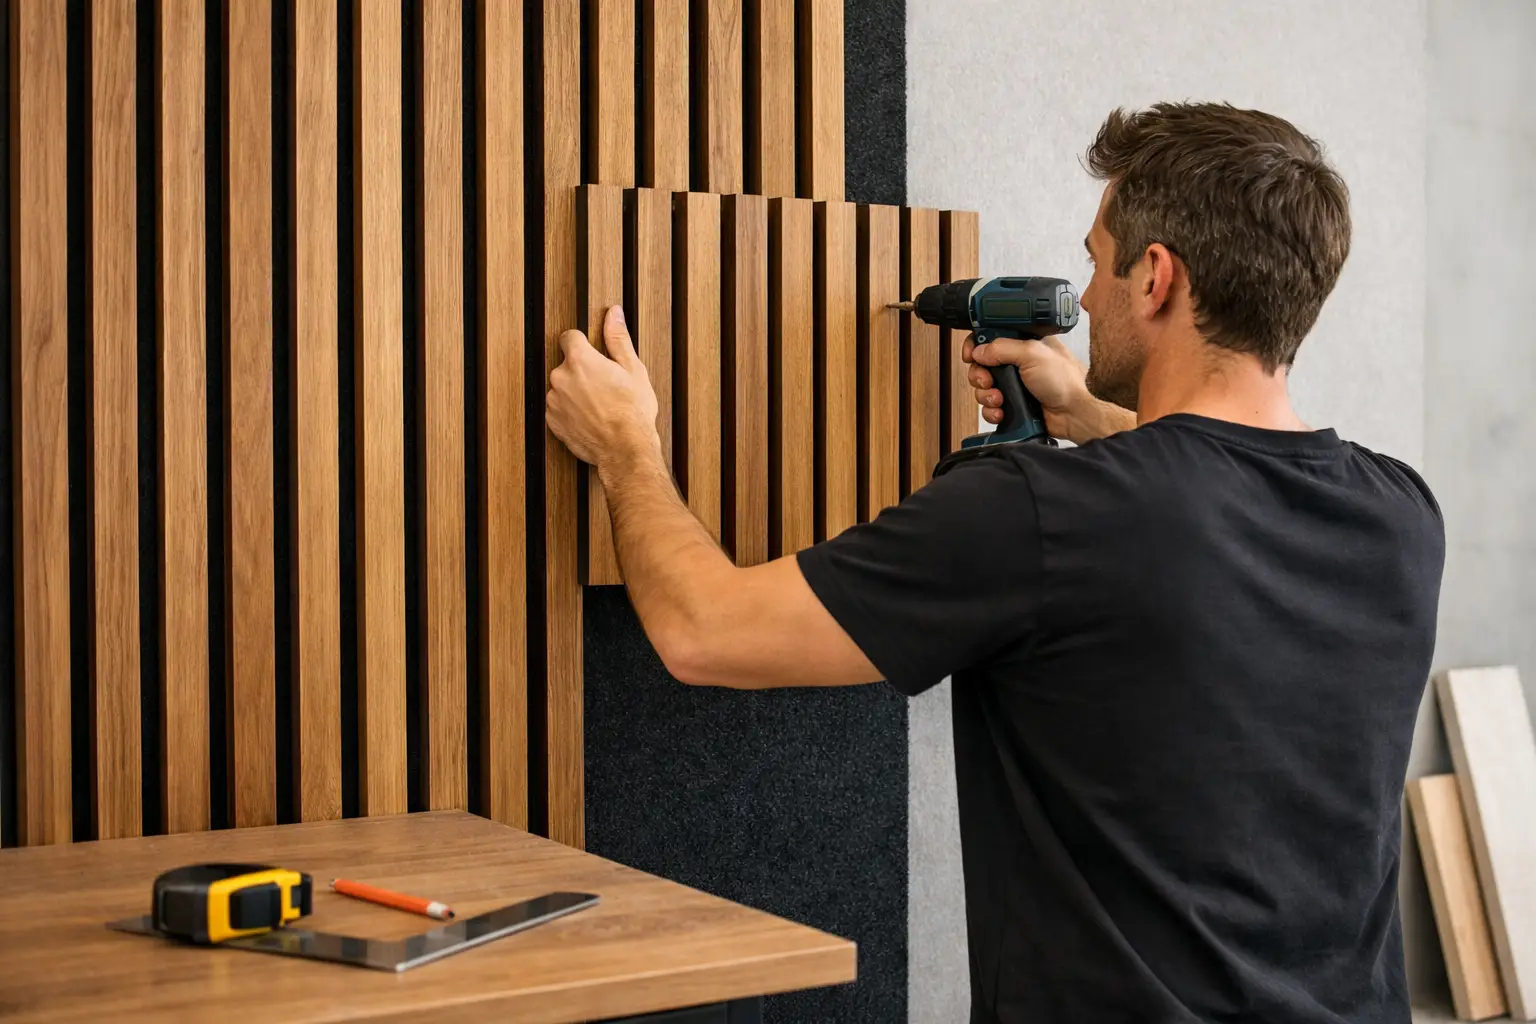
A beautifully finished room can still feel incomplete when sound bounces off every hard surface. That is often the moment people decide to install acoustic slat panels – not only to soften echo, but to give a plain wall or ceiling real architectural presence.
These panels work because they solve two design problems at once. Visually, they introduce warmth, texture, and rhythm. Functionally, they help improve acoustic comfort in living rooms, bedrooms, offices, meeting spaces, restaurants, and reception areas. The appeal is obvious, but the finish depends on getting the installation right.
Before you install acoustic slat panels
Good installation starts before the first panel goes up. Measure the full width and height of the wall or ceiling section, then check for obstacles such as plug points, light switches, HVAC vents, wall sconces, or ceiling fittings. If you are planning a full feature wall, decide early whether the panels will run floor to ceiling, stop above a skirting board, or finish with trims for a more framed appearance.
It also helps to think about the direction of the slats. Vertical installation tends to make a room feel taller and more refined. Horizontal placement can widen the visual feel of a smaller room, but it changes the character of the space and may require more planning around joins. Neither option is wrong. It depends on the proportions of the room and the effect you want.
Surface condition matters more than many people expect. The wall does not need to be perfectly new, but it should be clean, dry, and reasonably level. Large dips, loose paint, crumbling plaster, or moisture issues should be dealt with first. Acoustic slat panels are designed to create a premium finish, and even a high-end panel can only look as good as the surface supporting it.
Tools and materials you will likely need
Most installations are straightforward, especially when the panels are made for efficient fitment. In many cases, you will need a tape measure, spirit level, pencil, construction adhesive, screws, wall plugs if fixing to masonry, a drill, and a fine-tooth saw or suitable cutting tool for trimming panels to size.
If you are fitting panels to a ceiling, a second pair of hands makes a real difference. The panels are manageable, but overhead alignment is much easier when one person can hold and another can fix.
How to install acoustic slat panels on a wall
Plan your starting point
The cleanest result usually comes from starting at one edge and working across, rather than beginning in the middle. Check that your first panel is perfectly plumb. If the first panel is slightly off, every panel after it will follow that line, and the finished wall can look subtly uneven.
In rooms where the corner is not perfectly square, some installers prefer to scribe the first panel slightly to the wall so the visible face remains straight. That extra care is worth it on premium interior projects where detail is everything.
Apply adhesive or mechanical fixings
There are generally two common methods when you install acoustic slat panels: adhesive fixing directly to the wall, or screw fixing through the felt backing into the substrate. Some projects use both for added stability.
Adhesive is often the faster option and keeps the visible finish especially clean. It works best on flat, sound surfaces. Screw fixing can be preferable where the wall is less even, where a more secure mechanical hold is required, or where you may want the option to remove or adjust panels later. For masonry or concrete, use the correct plugs and fixings. For timber battens or studs, screw directly into the support structure.
When using screws, place them neatly through the black felt backing so they remain discreet. The goal is practical strength without interrupting the visual flow of the slats.
Set the first panel carefully
Position the first panel, check it with a level, and secure it fully before moving on. This is the panel that determines the rhythm of the whole installation. Press firmly if using adhesive, and make sure there is even contact along the panel height.
Take your time here. A few extra minutes at the beginning usually saves a lot of correction later.
Continue panel by panel
Once the first panel is in place, continue across the wall, aligning each panel closely so the slat spacing remains consistent. Premium panels are designed to create a continuous look, but the installer still needs to watch for creeping misalignment as the run progresses.
Step back every few panels and view the wall from a distance. This is one of the simplest ways to catch slight shifts before they become obvious. Up close, everything can appear fine. From across the room, uneven lines are easier to spot.
Cut around outlets and edges
For plug points, switches, or other interruptions, measure carefully and transfer the cutout positions before cutting. Accuracy matters because these panels are a finish material, not a hidden substrate. Clean cuts create the difference between a custom-fitted look and something that feels improvised.
At the far edge of the wall, you may need to trim the last panel lengthwise. If so, plan where that cut edge will sit. In some designs, an end slat or trim helps create a more resolved finish.
How to install acoustic slat panels on a ceiling
Ceiling applications can be striking, especially in media rooms, hospitality interiors, boardrooms, and open-plan living spaces. They bring visual warmth overhead and can noticeably improve the feel of a room that sounds harsh or hollow.
The process is similar to wall installation, but ceiling work demands more support and more precision. Start by checking that the ceiling surface is sound and suitable for fixing. Mark your layout lines clearly so the panels run straight across the room.
For ceilings, mechanical fixing is often the safer choice, either on its own or combined with adhesive, depending on the substrate and panel specification. Work panel by panel, confirming alignment as you go. If the ceiling includes downlights, sprinklers, vents, or speakers, map those positions early and cut with care.
One practical consideration: ceiling panels draw more attention to lighting direction. Slat texture creates shadow lines, which is part of the beauty, but it also means any inconsistency in spacing or alignment can become more visible once the lights are on.
When battens make sense
In some installations, battens are used behind the panels rather than fixing directly to the wall. This approach can help if the surface is uneven, if you want to create a service cavity for cables, or if additional acoustic build-up is part of the specification.
That said, battens slightly reduce room dimensions and add another stage to the job. For many residential feature walls, direct fixing is more efficient and still delivers an excellent result. In commercial spaces or more technically demanding rooms, a battened system may be worth the extra depth and planning.
Common mistakes to avoid
The biggest mistake is rushing the layout. A wall can be expensive to finish and surprisingly easy to compromise with one uneven starting line. Another common issue is ignoring the substrate and relying on adhesive where the wall is dusty, flaky, or damp. That may hold initially, but it is not a premium installation method if the surface is poor.
Cutting without double-checking measurements is another familiar problem, especially around outlets and corners. Acoustic slat panels are forgiving in many ways, but they are still a visible architectural finish. Precision counts.
It is also worth thinking about balance. Covering every wall in a small room may reduce echo, but it can also feel visually heavy if the design is not considered properly. Sometimes one feature wall or a ceiling panel section gives the strongest result with the least effort.
Getting the finish right
A polished installation is not only about securing panels to a surface. It is about how the wall meets the floor, ceiling, corners, and adjoining materials. This is where trims, end details, and thoughtful alignment lift the whole look.
If your room already includes stone, paint, metal, glass, or cabinetry, consider how the wood-tone slats will sit against those finishes. The best spaces feel intentional. The panels should look like part of the architecture, not an afterthought added to fix bad acoustics.
For homeowners, that might mean turning a TV wall into a quieter, more sophisticated focal point. For designers and contractors, it may mean specifying a finish that elevates a project while still being practical to install. That balance of visual impact and usability is exactly why acoustic slat panels have become such a strong choice for modern interiors.
At Inspiration Wood, that transformation is part of the appeal: premium surfaces that are easier to install than traditional timber, yet rich enough to change the entire mood of a room.
If you are planning to install acoustic slat panels, think beyond the fixings and measurements for a moment. Done well, they do more than cover a wall – they shape how a space looks, sounds, and feels every day.